Skip to content
theholtsite
Blog
Lessons
Archery
Music
Bios
Contact
GHT
Author:
Ben
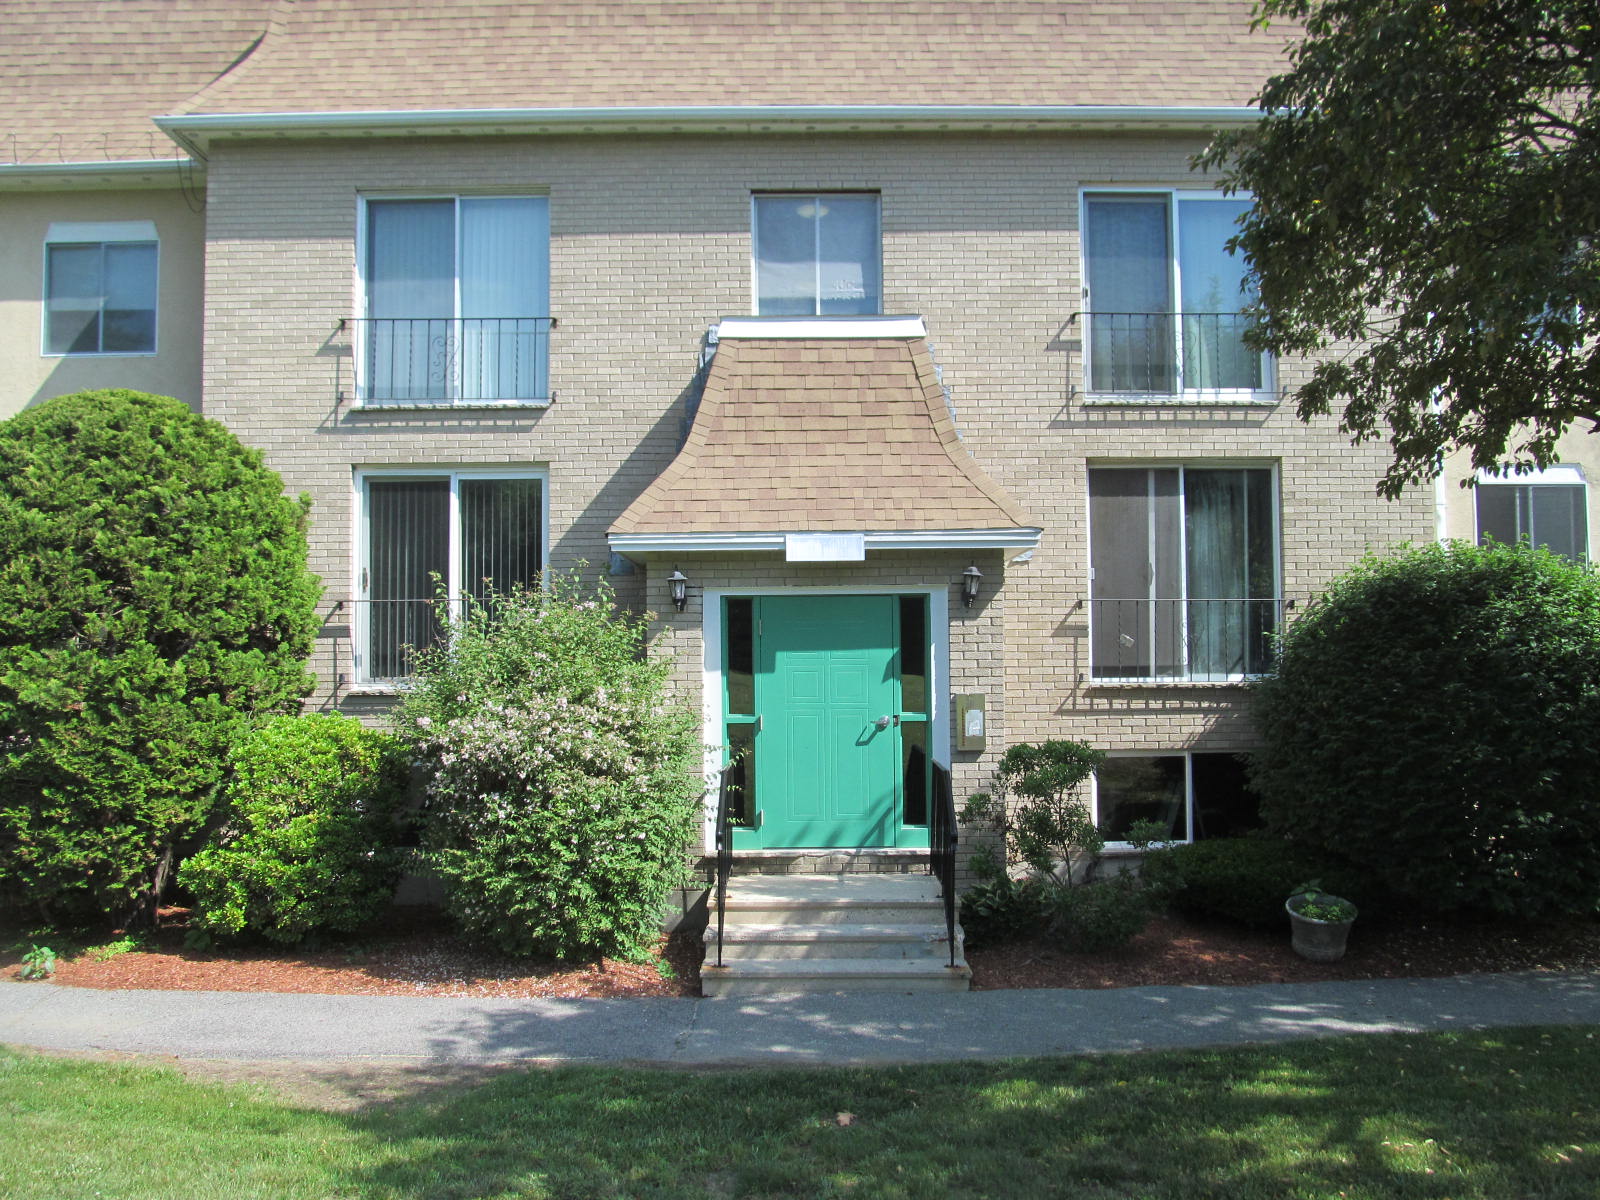
Apartment for rent
June 15, 2026
Jill
General
Jill Recites the Psalms
May 26, 2026
Ben
General
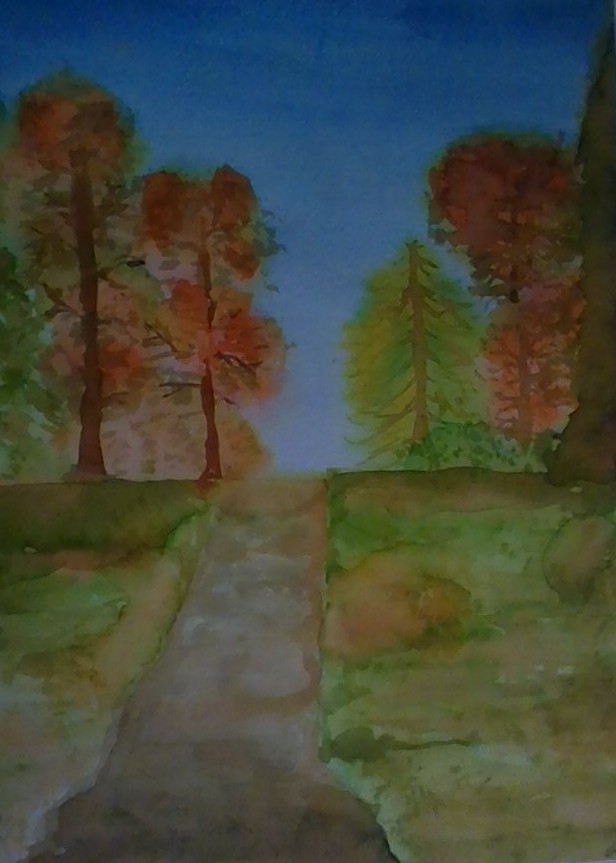
A little Watercolor
April 7, 2026
Jill
General
Apartment for rent
June 15, 2026
Jill
General
Jill Recites the Psalms
May 26, 2026
Ben
General
A little Watercolor
April 7, 2026
Jill
General
Apartment for rent
June 15, 2026
Jill
General
Jill Recites the Psalms
May 26, 2026
Ben
General
A little Watercolor
April 7, 2026
Jill
General
Apartment for rent
June 15, 2026
Jill
General
Jill Recites the Psalms
May 26, 2026
Ben
General
A little Watercolor
April 7, 2026
Jill
General
Apartment for rent
June 15, 2026
Jill
General
Jill Recites the Psalms
May 26, 2026
Ben
General
A little Watercolor
April 7, 2026
Jill
General
Apartment for rent
June 15, 2026
Jill
General
Jill Recites the Psalms
May 26, 2026
Ben
General
A little Watercolor
April 7, 2026
Jill
General
Apartment for rent
June 15, 2026
Jill
General
Jill Recites the Psalms
May 26, 2026
Ben
General
A little Watercolor
April 7, 2026
Jill
General
Apartment for rent
June 15, 2026
Jill
General
Jill Recites the Psalms
May 26, 2026
Ben
General
A little Watercolor
April 7, 2026
Jill
General
1
2
3
…
62
Next Page